

🌊 Elevate Your Aquarium Game with Effortless CO2 Control!
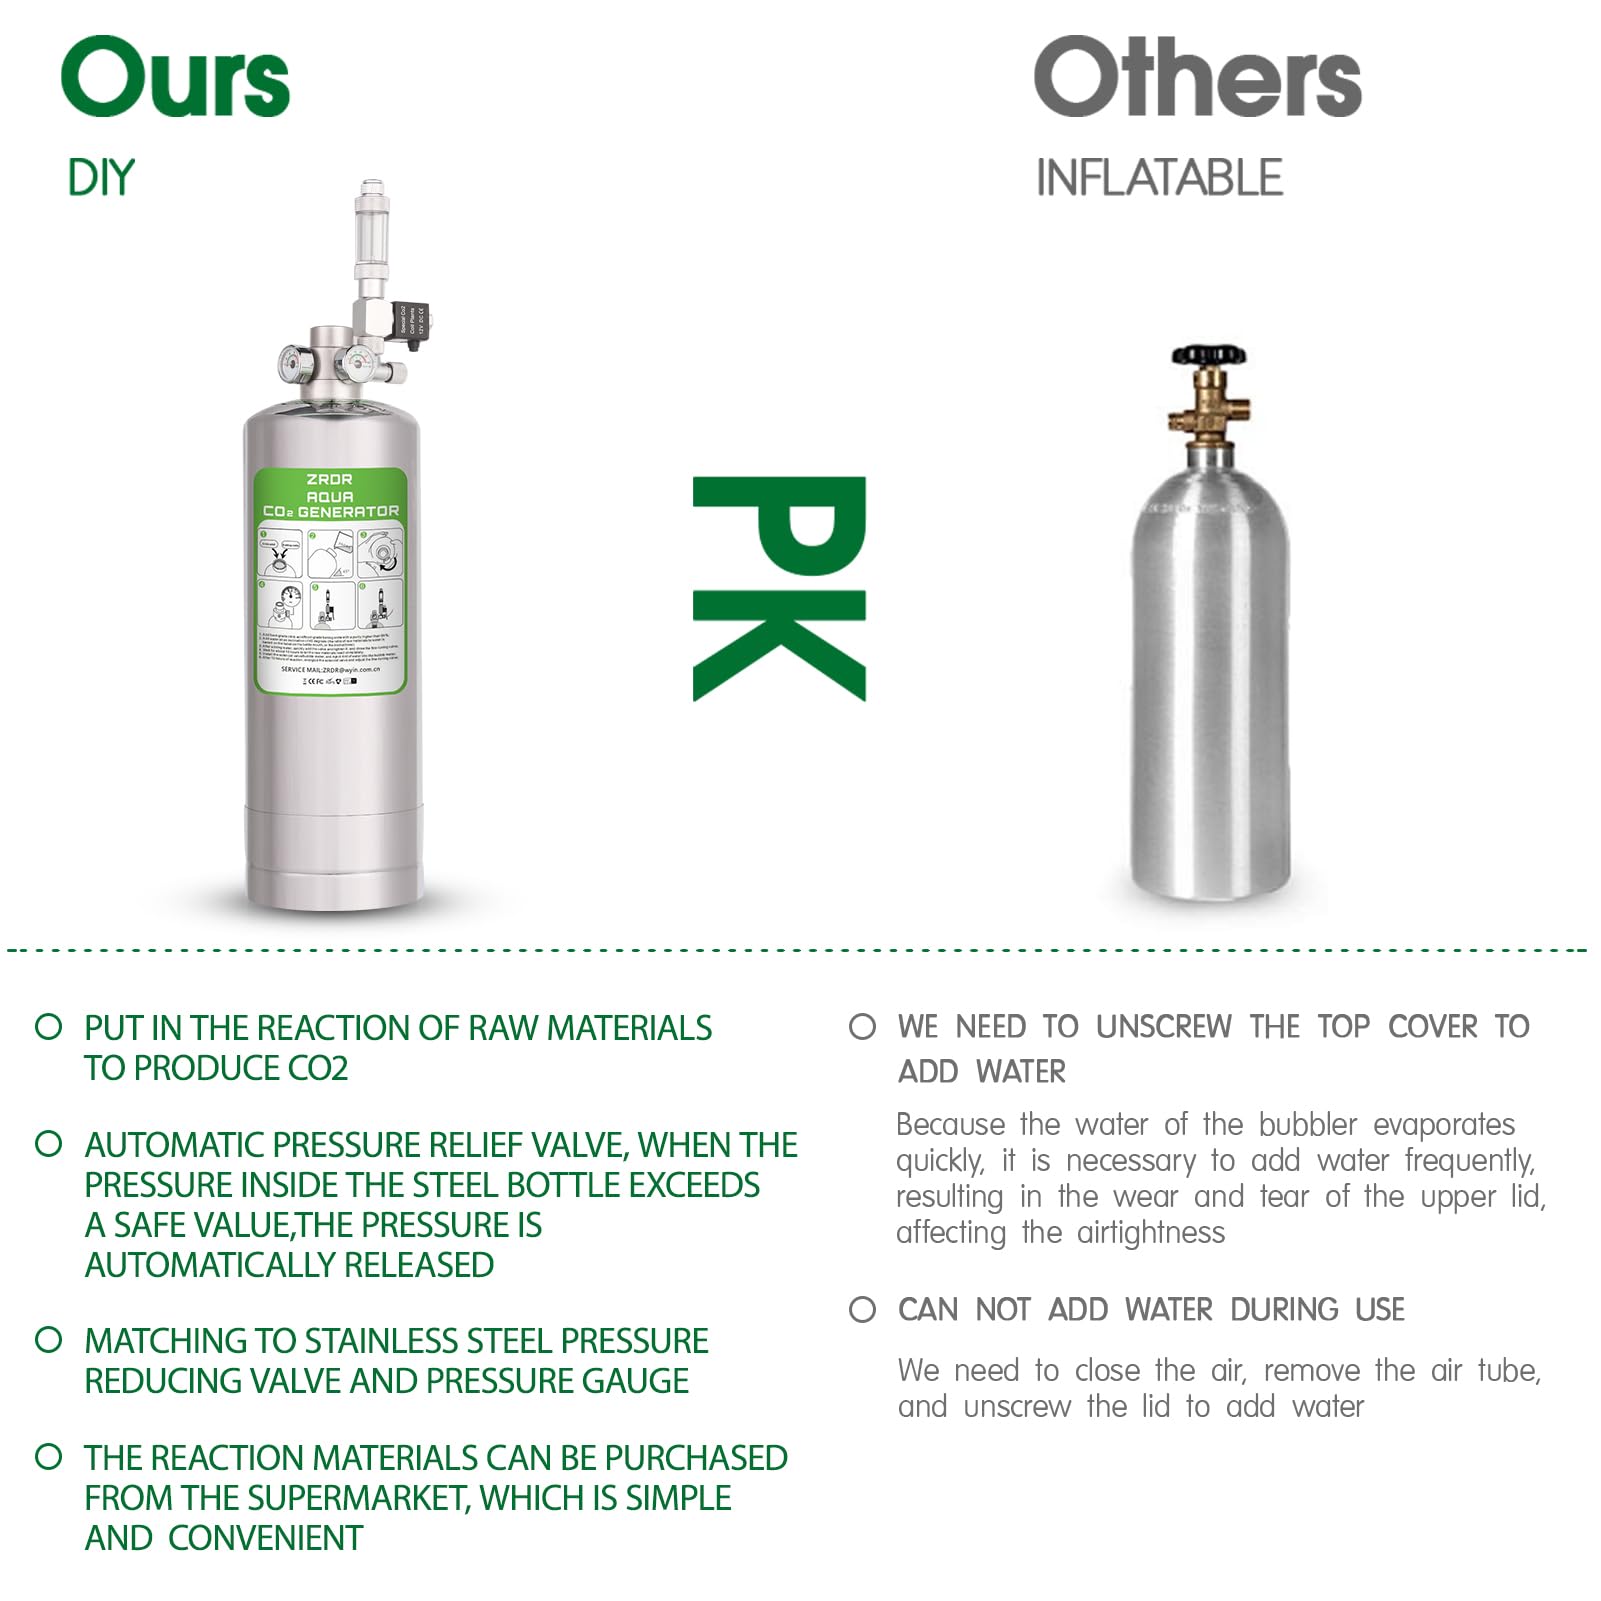
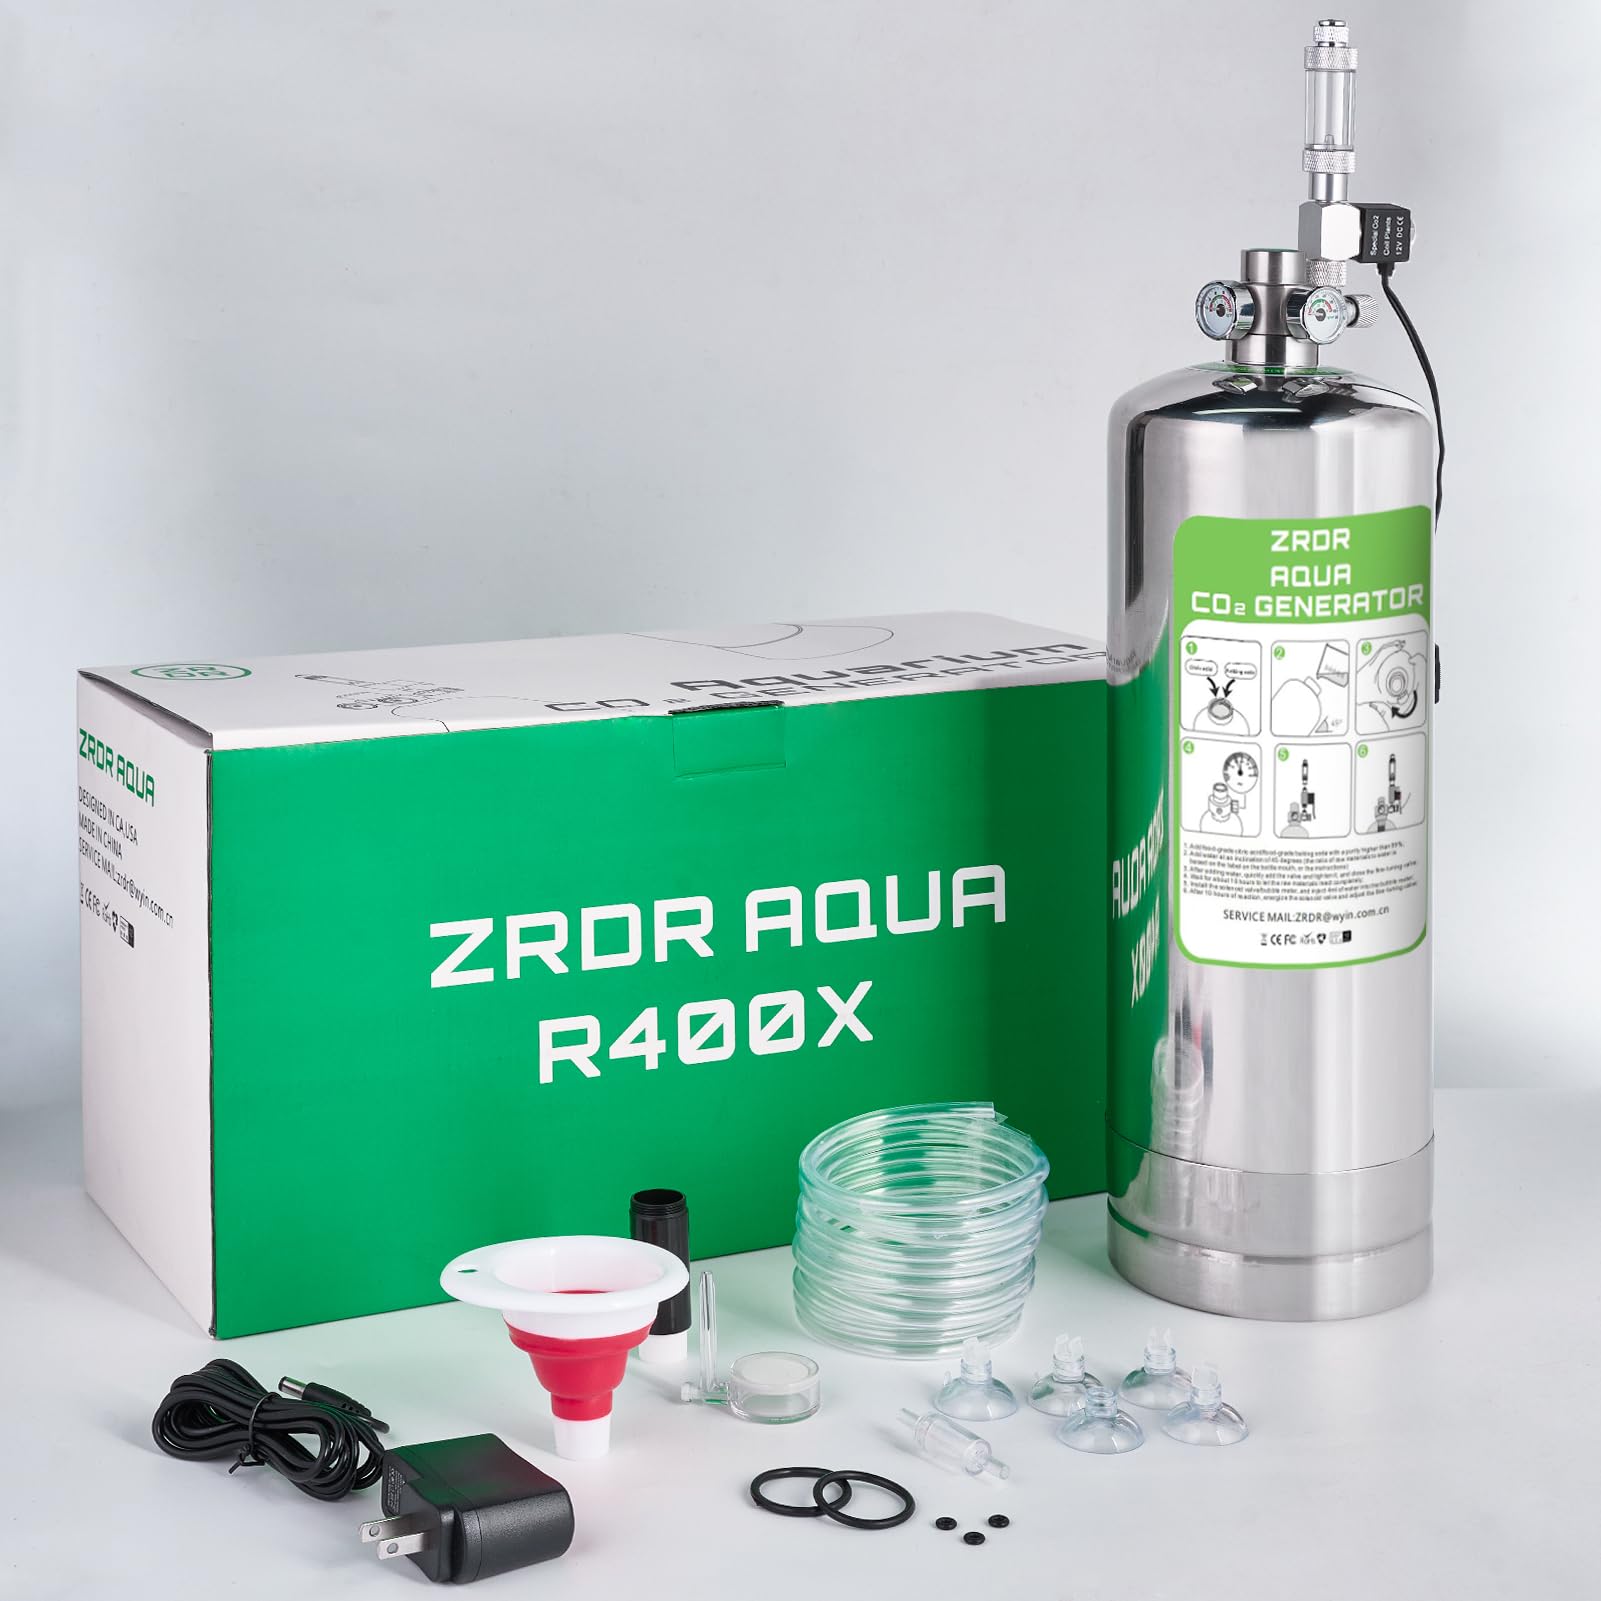
The ZRDR4L CO2 Generator System is a professional-grade kit designed for aquarium enthusiasts. Made from durable 304 stainless steel, it features a 4-liter capacity, an automatic pressure relief valve for safety, and an innovative bubble counter for easy maintenance. This all-in-one solution ensures your aquatic plants thrive with optimal CO2 levels.
| Item Weight | 42.33 Ounces |
| Liquid Volume | 4 Liters |
| Target Species | Fish |
3**O
Using this to make SODA
The media could not be loaded. ZRDR Aquarium Co2 System 2L with Pressure Gauge Automatic Pressure Relief Valve Bubble CounterPurchased 20 May 2024 from ZRDR for $77.99WARNING: SERIOUS INJURY OR DEATH CAN OCCUR, DON'T DO THISThis is a nonstandard use of the ZRDR CO2 system. This is more of a product suggestion than a review. For the price, this kit is outstanding for the original intended purpose (aquarium) IMHO. This modification is not for the risk adverse, feint of heart, uneducated, nor unskilled. I am merely illuminating what I have done in the hopes that ZRDR will make a professional system for the masses (product suggestion).In the beginning...there was the SodaStream Art by Pepsico. Then I converted this thing to replace the Art and gave the Art away.I just didn't want to fool around with their reasonable $15 60L CO2 canister exchange program, preferring to make my own CO2 from reactants (baking soda and citric acid). I mean come on, making CO2 is cheap and easy. Upfront investment cost is about the same. Recurring costs can be less, providing local access to low cost reactants. At 200g per charge, 5lbs is 2268 grams yielding 11 charges. For convenience, the reactants are sold right here on Amazon:https://www.amazon.com/gp/product/B000OZFECU/ref=ppx_yo_dt_b_search_asin_title?ie=UTF8&th=1https://www.amazon.com/gp/product/B0774M73SF/ref=ppx_yo_dt_b_search_asin_title?ie=UTF8&psc=1This project does require know how and mechanikin' skillz. There are two basic options, modify this canisters OEM top cap permanently destroying the built in regulator and removing everything past and including the bubbler (port in cap for bubbler is 1/8" BSPP), or drill and tap an M30x1.5mm plug using a ~34x28mm O-ring:https://www.amazon.com/gp/product/B0BCFB7PBV/ref=ppx_yo_dt_b_search_asin_title?ie=UTF8&th=1Then it's basic plumbing parts until the bottle. I clear Epoxy all plumbing joints. I used two ball valves and a pressure gauge so I could check the canister and bottle pressure, all 1/4" NPT. Then a pressure washer quick disconnect:https://www.amazon.com/gp/product/B07RHK7HK2/ref=ppx_yo_dt_b_search_asin_title?ie=UTF8&th=1https://www.amazon.com/gp/product/B08F2X5L24/ref=ppx_yo_dt_b_search_asin_title?ie=UTF8&th=1Then drilled a replacement SodaStream bottle cap with 3/8" brad point drill bit then 13/32" and thread with 1/4" NPT tap, appropriate washer threaded 1/4" NPT, epoxy and a 1/4" compression fitting:https://www.amazon.com/gp/product/B0CZ32LWCC/ref=ppx_yo_dt_b_search_asin_title?ie=UTF8&th=1And a check valve between pressure washer QD and 1/4 compression fitting:https://www.amazon.com/gp/product/B0BN6HL5B3/ref=ppx_yo_dt_b_search_asin_title?ie=UTF8&psc=1Then there are two options for the 1/4" stainless tube. From the underside of the bottle cap to the end of tube assembly should be 3+1/2 to 3+5/8 inches long. Easiest was to use a piece of this tube and crimp end in vise for small holes ~1mm:https://www.amazon.com/gp/product/B0006NAUQK/ref=ppx_yo_dt_b_search_asin_title?ie=UTF8&th=1Fill Sodastream bottle with water to line, chill in fridgedator, screw on and three *quick bursts. NOTE: releasing Sodastream bottle pressure between each burst (I just unscrew bottle from cap). At the end of each burst the bottle pressure should read ~55psi. I should have added a 55psi regulator. This is INHERENTLY DANGEROUS as the Sodastream bottle can be pressurized to way more than 55psi.The second method for the tube assembly that I preferred was to use heavy wall (0.065" wall) stainless 1/4" tube, drill and tap for 3/16-24, then use a vented socket head stainless screw (0.046" hole = 1.1684mm). Both purchased elsewhere.Sodastream bottles and caps here:https://www.amazon.com/gp/product/B01AHGDQ3Y/ref=ppx_yo_dt_b_search_asin_title?ie=UTF8&psc=1https://www.amazon.com/gp/product/B004OYMOK2/ref=ppx_yo_dt_b_search_asin_title?ie=UTF8&th=1Amount of CO2 in soda is amazing. I get 6 to 10 1L carbonized Sodastream bottles out of a single baking soda and citric acid charge. At 11 charges that is at least 60 1L bottles carbonized, up to 110. When ZRDR canister pressure drops to below 100psi, I pressurize the Sodastream bottle assembly, then QD and shake vigorously for 10-45 seconds, let sit in fridge for a bit to get more 1L carbonized bottles out of a single charge. This is the reason for the QD and check valve on bottle cap assembly. I like this method for many reasons, the added bonus is it doesn't leak so CO2 waste is minimized. But it lacks a safety release and regulator making it INHERENTLY DANGEROUS.Some notes: I did some research and lots of R&D on this project. What I show here is what I ended up with that IMHO works best. DO NOT use more than 200g of baking soda, 200g of citric acid, and 300g of water in this canister. Pressure will build to 270psi (room temperature) after a couple days unless you use some of the CO2. The canister safety release built into the OEM top cap is advertised for 30Kg/cm2 which is 426psi. My method shown here eliminates that safety release which is DANGEROUS and NOT recommended. I should have added a 300psi 1/4" NPT safety release sold right here on Amazon. Ordinary soda bottles have a burst pressure of 12bar which is 174psi, though there is yielding way before burst, I do not use ordinary bottles. Sodastream bottles are heavy wall and burst has been tested (one unit) at 25bar or 362psi, though there is yielding way before ultimate. Pepsico says this: "To successfully carbonate water with a CO2 tank, the gas regulator valve should be set at 55 PSI, to enable the serving pressure to remain at around 12 PSI." I should add a 55psi regulator, this method is dangerous as the Sodastream bottle could be pressurized way above 55psi. Pepsico advertises 4 years per Sodastream 1L bottle, not cycle dependent. The modification I made to the Sodastream bottle cap invalidates all of this. It would be best if a cap was specially made for this application (product suggestion).edit 23 July 2024I ended up replacing the vented screw with a 0.8mm misting nozzle. Taking the misting nozzle apart and removing the spring and rubber check valve. This works much better. FYI 0.6mm is too small.https://www.amazon.com/gp/product/B093L385FF/ref=ppx_yo_dt_b_search_asin_title?ie=UTF8&th=1Also, I purchased a used 5.5L tank elsewhere and added an oxygen regulator, but that bottle needed a smaller o-ring stretched on the M30x1.5mm top cap, 1"ID by 1/8" thick.https://www.amazon.com/gp/product/B073P1C18S/ref=ppx_yo_dt_b_search_asin_title?ie=UTF8&psc=1Notes: Helps to put glycerin on the o-rings. Helps to put a small 5" balloon in the tank and fill with water (ye old brass hose nozzle) then drop in tank and screw on top cap. Then shake. Balloon comes later for reuse.https://www.amazon.com/gp/product/B07SR1P15T/ref=ppx_yo_dt_b_search_asin_title?ie=UTF8&th=1
M**O
Easy to install - Use the video on Amazon and you can literally put this together
So far, I like this device and it is super sturdy and looks seriously tech. It really turned out well and was very easy to install. I used the instructions for the dose of chemicals needed, but used the video here on Amazon to get everything connected right. I don't know how many CO2 bubbles I need, but I got it running. You may need a short extension cord which I did as I didn't have it close to a plug outlet. It's a two prong for those of you who want to know. I got it up to the psi that it said and then started putting everything on it like the video showed. I was a little paranoid about cutting the plastic hose air cord but then finally just chose my location which was at the back and figured out where I'd put the in between piece. FYI - the steal curve to hang the plastic didn't work on my tank as it's a black rim 120 gallon and too thick. Luckily, the bubbler piece is heavy so I didn't need it. Oh, make sure the bubbler piece is screwed on snug unless you want a giant bubble which I corrected.. Note - do not put it near an intake as it will fill up your filter with air! I have it on the end with my out take of my canister filter. Fish aren't disturbed by it. I needed CO2 for my plants as I'm getting a lot of algae and my plants needed a kick to grow better. I didn't want to fuss with gas. I admit that my first try sorta failed. I don't know if I mounted the top part with the gasket wrong but it [the gasket] popped out. I lost all of my gas from the first batch and tried again [so buy yourself some big bags of the chemicals or you'll hate yourself and get frustrated], but I used one of the spare gaskets in case the other one was a little odd to try the second time. It's now working perfectly! I am running a serious bubbler with air so that when my lights turn off I don't accidentally hurt my fish. I read that can happen. So far, so good. Once my plants are seriously growing I'll try posting a picture here to show the end results.
B**N
Great option instead of going to the gas company for co2
It’s very sturdy and works perfectly. I’ve seen the old method using the plastic soda bottles and didn’t want to attempt making my own co2. But, with this I’m perfectly fine making my own. It’s great except the screw top is a little troublesome at times to screw back on but, not a deal breaker and I think they updated this model with an easier screw top. If you’re new to making your own co2 like I am I would suggest you buy this.
C**K
What a Waste of Money
What a waste $96, and another $35 in citric acid and baking soda. Worked great for 2 or 3 months, then it started to leak. After filling it and building up the pressure, it works ok for about a day, but then for some reason it goes flat again. Made sure that everything was nice and tight, but it still leaks.Now I have to do what I should have done in the first place; find a cheap tank on craigslist.
Trustpilot
2 weeks ago
1 month ago