


🎶 Elevate Your Sound Game!
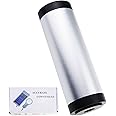
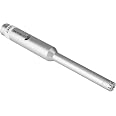
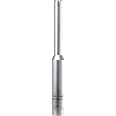
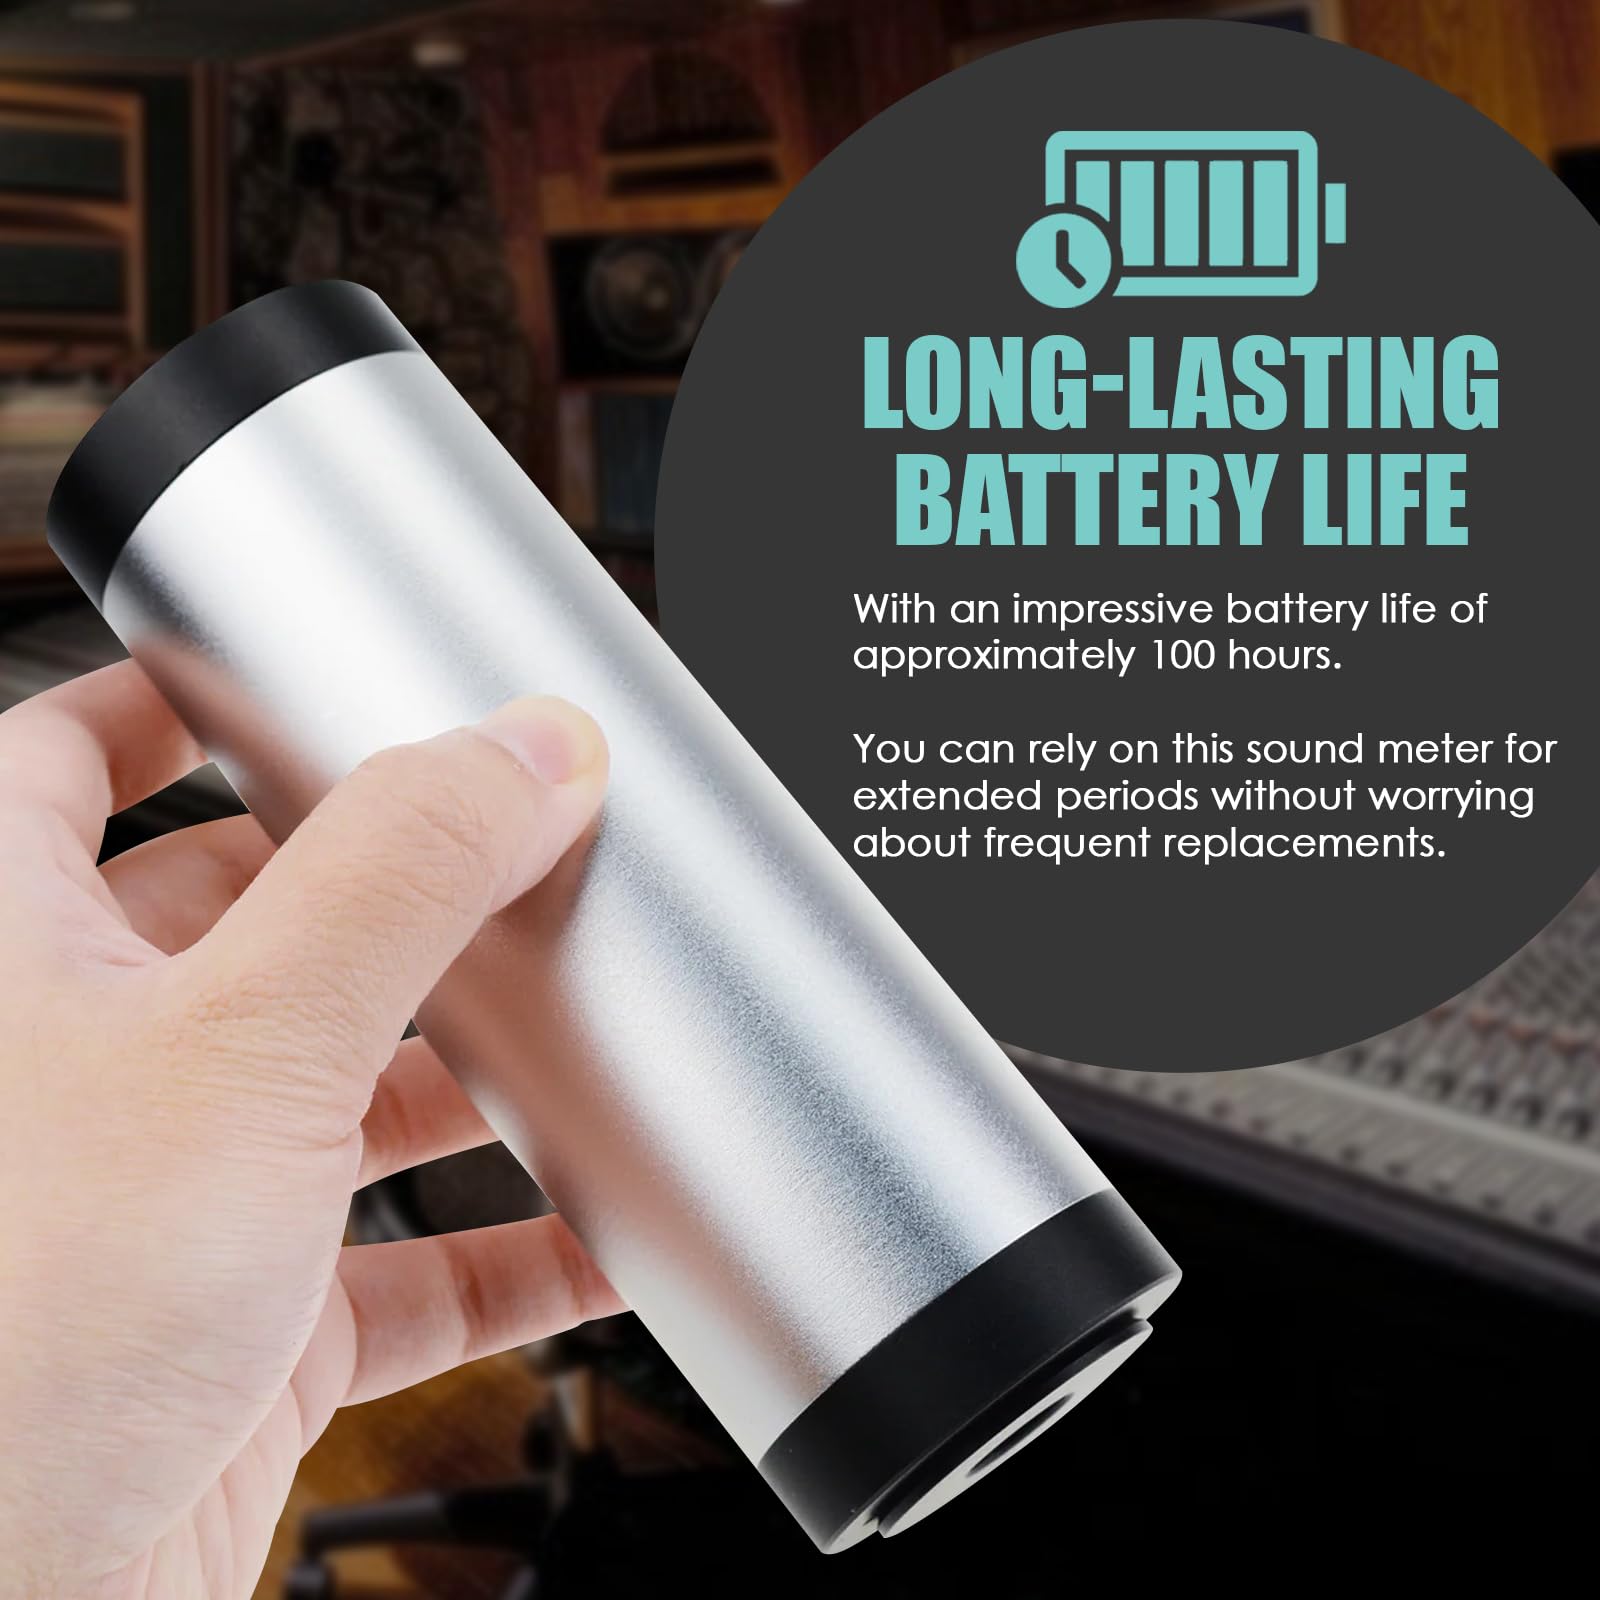
The TEKCOPLUS Sound Level Calibrator is a professional-grade device designed for precise sound measurement, featuring dual output levels of 94dB and 114dB, a robust battery life of approximately 100 hours, and compatibility with both ½ inch and 1 inch microphones. Conforming to IEC942 Class 1 standards, this calibrator ensures accurate readings, making it an essential tool for sound engineers and audio professionals.
| Brand | TEKCOPLUS |
| Manufacturer | TekcoPlus Ltd |
| Model number | SLM-111 |
| Colour | Sound Calibrator |
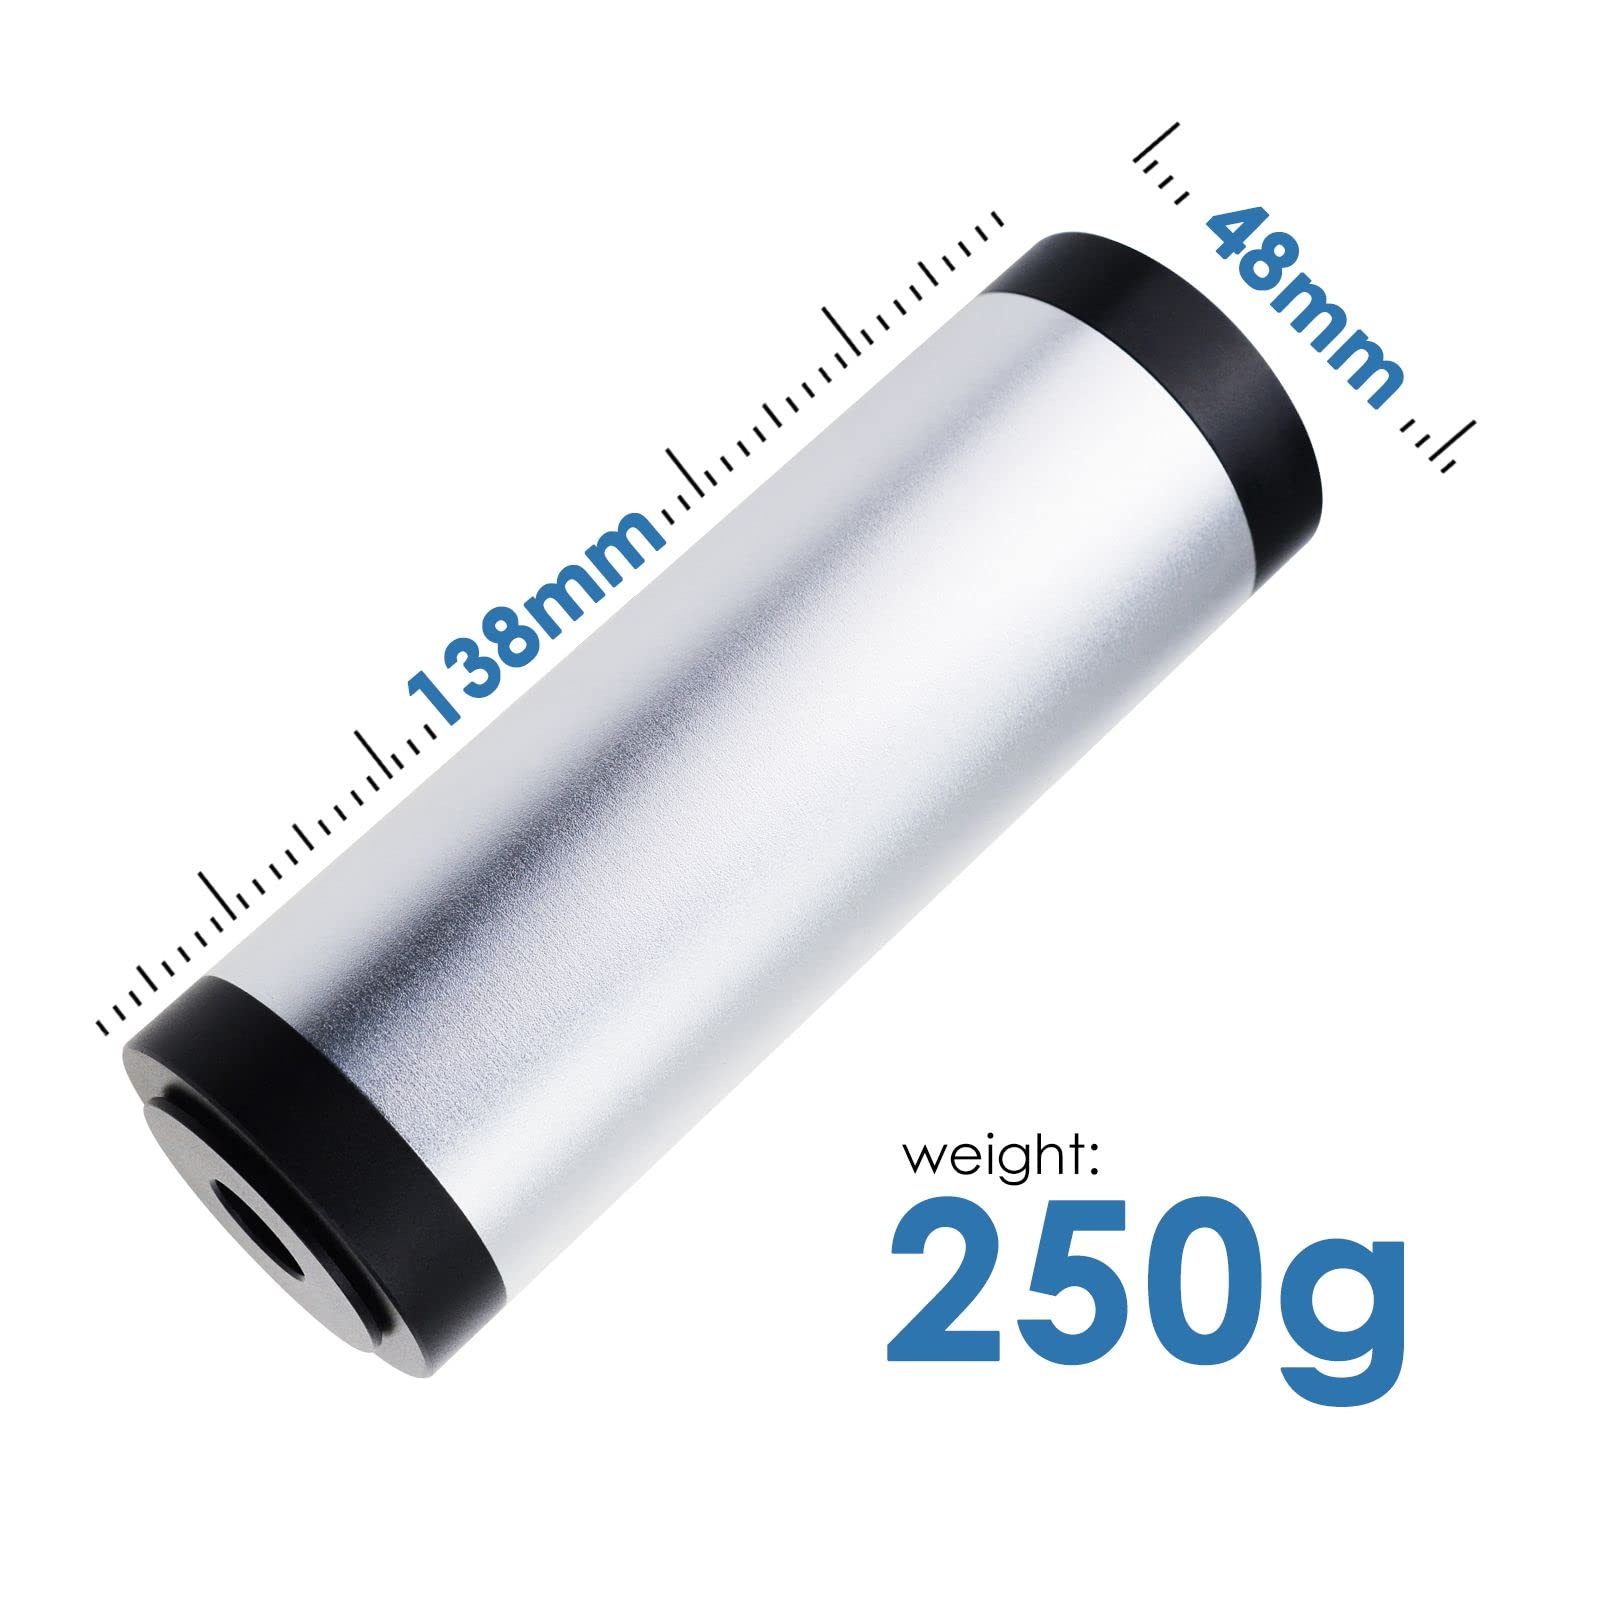
| Item Weight | 320 g |
| Package Dimensions | 17 x 8.8 x 5.6 cm; 320 g |
| Batteries | 1 9V batteries required. |
| Item model number | SLM-111 |
| Voltage | 9 Volts |
| Power Source | battery-powered |
| Are batteries included? | No |
G**L
Buen producto
solo lo use una vez y lo fui a calibrar y me salió mas caro que el producto pero esta super bien.
H**.
Buen Producto
Buen producto cumple con lo indicado y requerido para su uso.
B**E
value and quality the best
Excellent
F**M
Suficientemente preciso
Entre una calibración y otra no hay más de 0,3 dB de diferencia, para aplicaciones de ajustes de sistemas y mezcla en directo me resulta suficientemente preciso frente al precio de una clase 1.
E**E
Valuable Buy For Surround Sound Receiver Calibration
I'm going to do a formal review of the product on my website because I'm very happy with this product. Even though my surround sound system has its own calibration microphone and setup, I was struggling to find the right balance for the subwoofer. I didn't want an unnatural "boom", and I didn't want so little, that the subwoofer was going to waste. This got everything balanced spot on once I figured out how to do it. Here are the steps:1. Choose "C" weighted output.2. Choose "Slow" response time3. Place the meter mic-up (pointed at the ceiling) on a tripod at the best listening spot.4. Go into the AVR settings to where you can customize the speaker levels. There should be a white / pink noise generated for each speaker one at a time. Just pick one to start with.5. Raise the AVR volume until the meter says about 70 decibels or so. Doesn't have to be perfect.6. Give it a few seconds, and press the "MAX" button. This indicates the highest decibel reading at that given time. That is the point of consistency you want to pursue. Make sure there are several seconds of analysis so that that max level is properly indicated. For arguments sake, let's say that reading is 70 decibels (could be anything in that range) - whatever is the point of consistency.7. Choose the next speaker with its own white / pink noise generation. Click on the MAX button and get the decibel reading for that speaker. Using the receivers + / - trim settings, adjust so you get as close as possible to that 70 decibels you got with the previous speaker.8. Repeat step seven with all your speakers. You may have to press MAX button a few times to clear settings and be certain you are getting the correct MAX value for each speaker - you'll know what to do.When you are done, if you go through the speakers, they should all sound as though they are at the same volume. The subwoofer may sound difference because of its frequency range, but that's why the SPL meter is important - it hears the volume your ears can't discern the same way.This meter immediately got rid of that subwoofer "boom" and made the audio smoother all around. That MAX button made things easier as well.Don't worry how accurate this unit is compared to another SPL meter (I have no idea if it is or isn't - it's probably fine). For these purposes, it's only important that the individual speaker readings are consistent so you can compare from one to the next and arrive at a steady result.I probably spent $35 on something I'm only going to use a handful of times, but it's a long term benefit. ;-)
Trustpilot
2 weeks ago
2 weeks ago