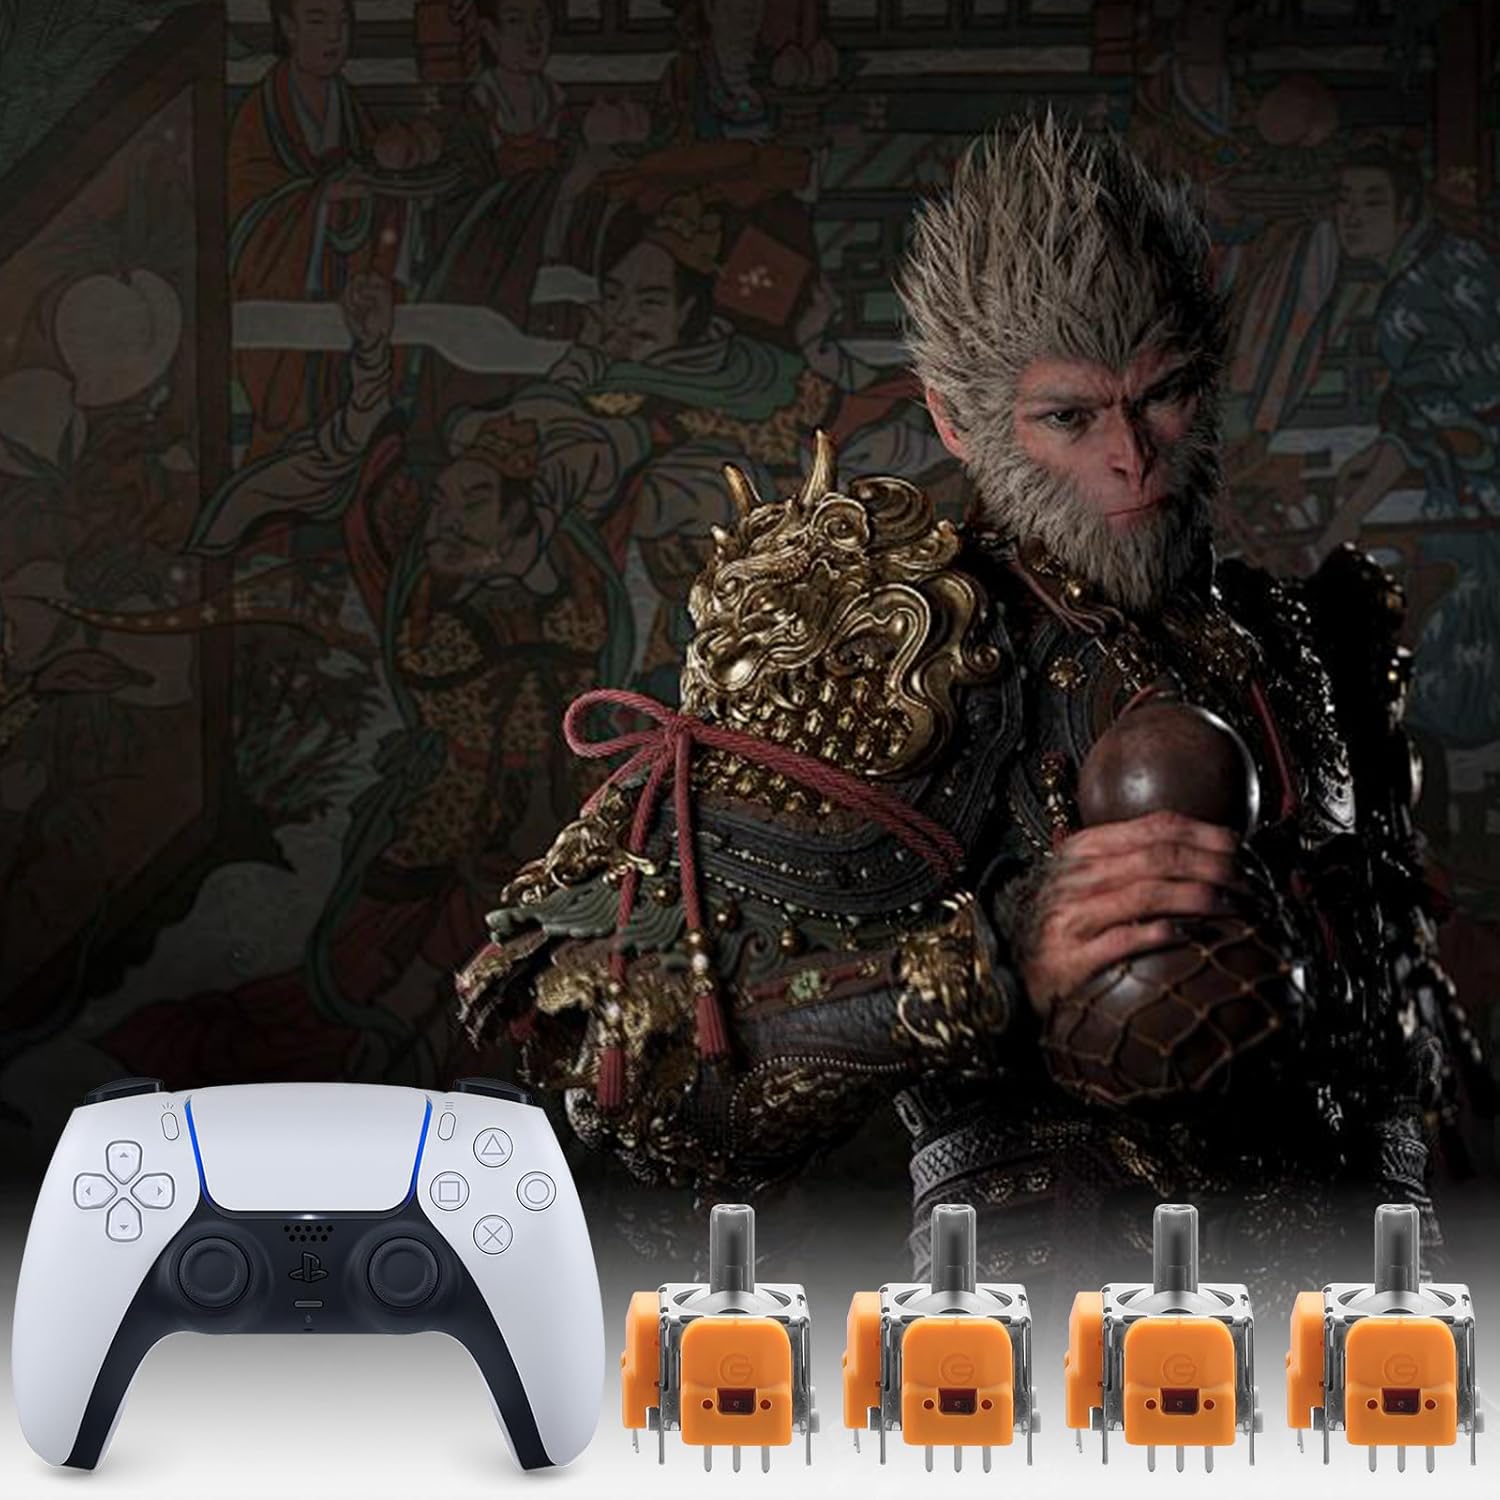


🎮 Level Up Your Controller Experience!
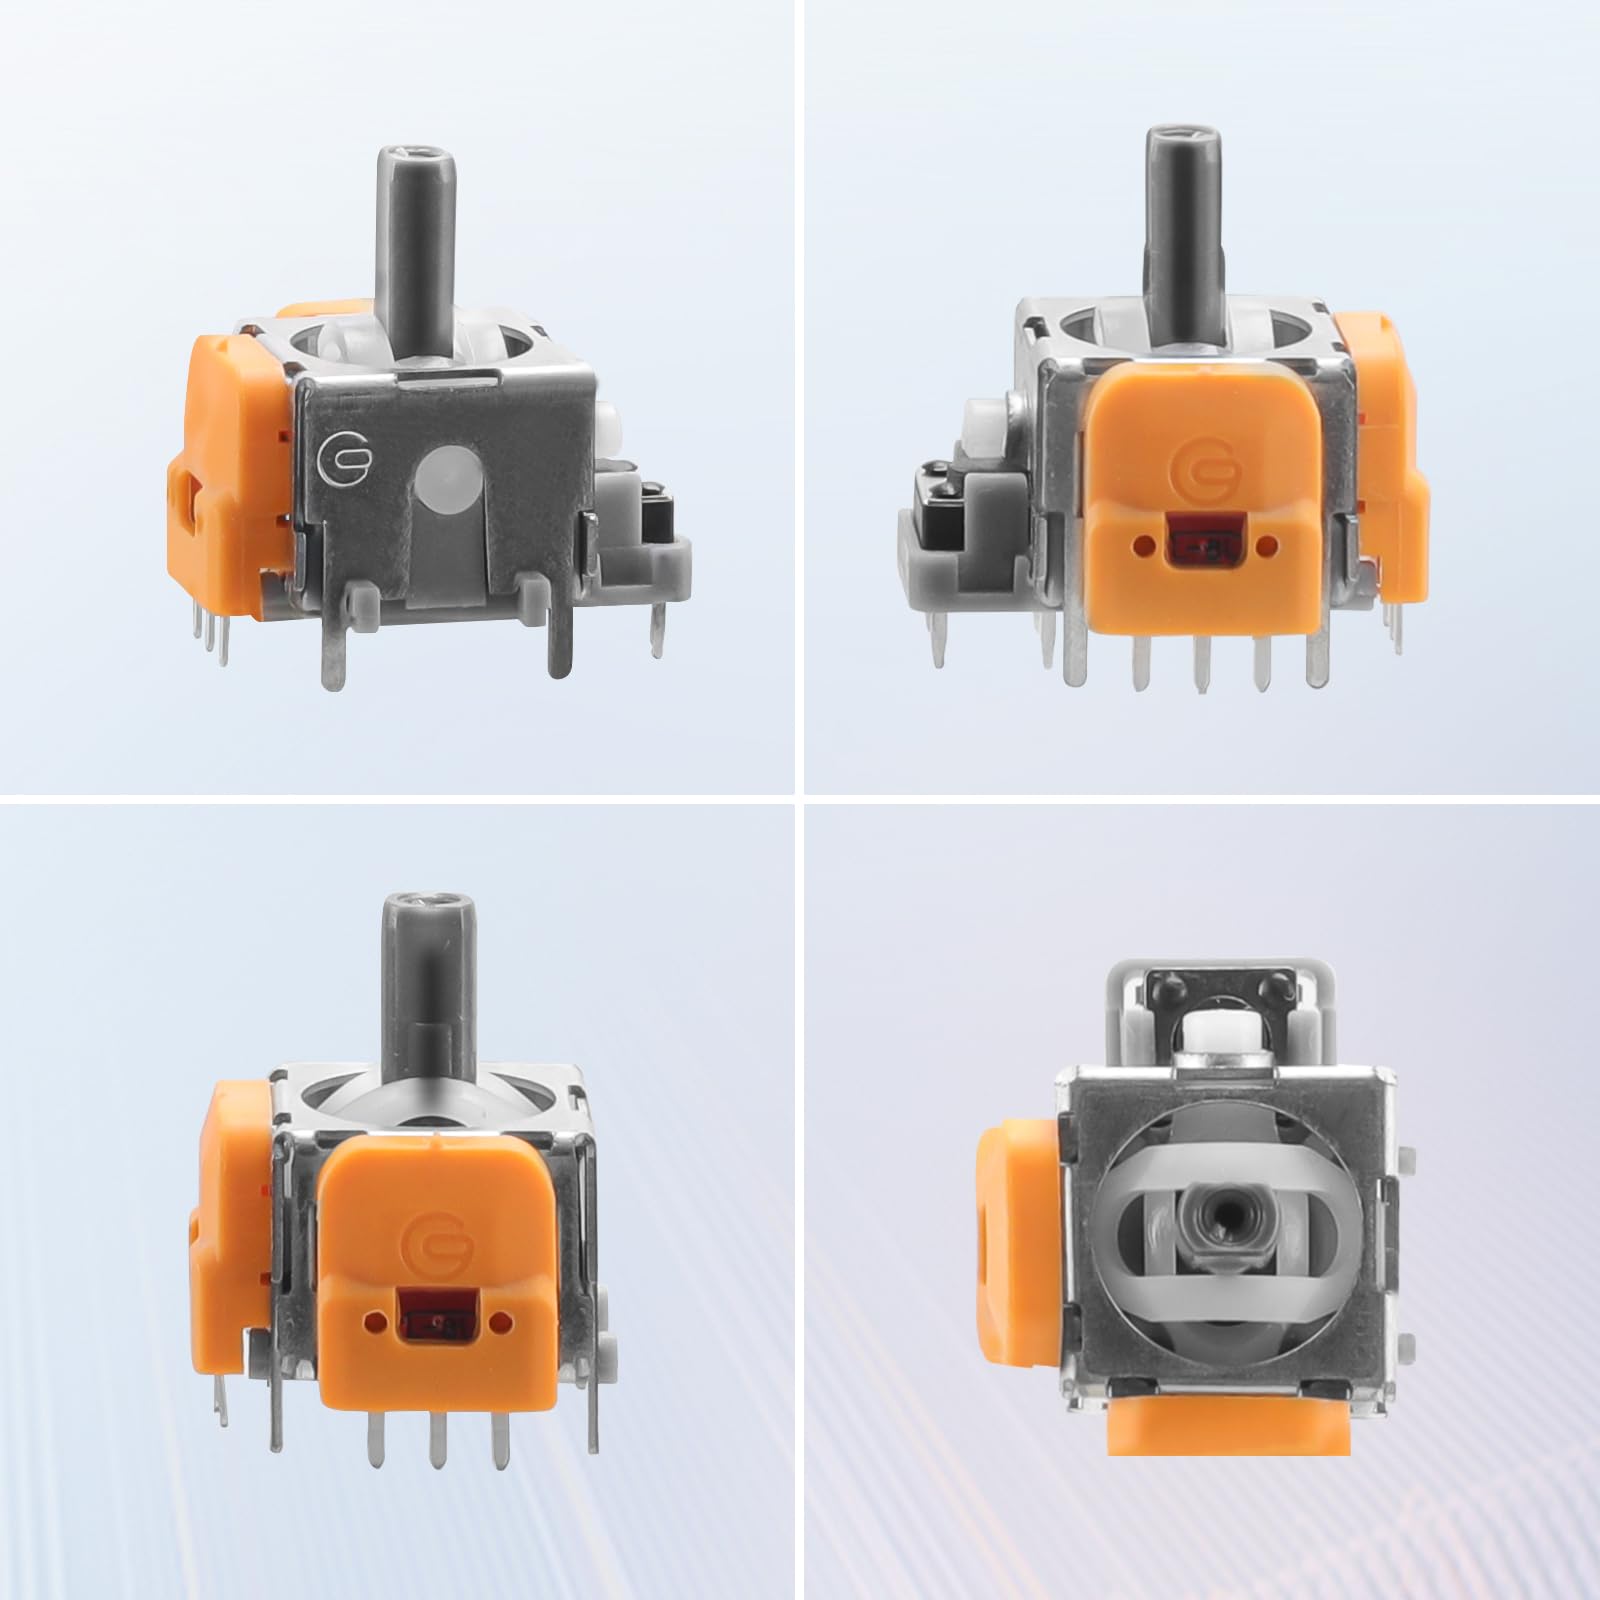
The TOMSIN Joysticks Replacement for PS5 Controller is a comprehensive repair kit designed specifically for the official PS5 controller. It includes four Hall Effect 3D analog sensor joysticks, thumbstick caps, protective rings, and essential tools for a seamless installation. Made from high-quality, wear-resistant materials, this kit ensures durability and precision, making it the perfect solution for restoring your gaming experience.


| Compatible Devices | Gaming Console |
P**Y
Excellent quality kit
This is a great quality kit with enough parts to fix two PS5 controllers with the dreaded drift problems.Regarding the review that said that these drift right out of the box, they very well might. After installation they need to be mechanically adjusted.. Watch some YouTube videos on Installing hall effect joysticks. After install, you need to hook the board up to USB and check the centering with a online gamepad test site. If the sticks need to be centered, you can put the end of the tweezers through the little holes next to the sensors on the stick assembly. And adjust the stick as necessary. It's a little fiddly, but you only have to do it once.They worked perfectly on my gamepad with no jitter after install and one was centered properly right out of the box the other one needed a little adjustment..I would generally recommend this install for somebody confident with electronic repair. There is non-beginner level desoldering to be done and several very delicate ribbon cable that must be removed and replaced.. The solder work can be done with a soldering iron, but will go much quicker with a hot air workstation.Overall, I was very pleased with this kit. It was very complete with not only the Hall Effect sensors, but a properly sized screwdriver and tool to open the case, extra stick covers, Extra screws in case you drop any. If you have the tools, you can repair two Controllers for less than 20 bucks, And the problem will not recur, Or you can give Sony 60 bucks apiece for new Controllers that will start drifting again in a month or six months or a year. Personally, I would rather put a bit of effort into it and be done with the problem.
J**N
Actually works!
I've had several PS5 controllers get that horrible drift. I had done everything I could think of. Cleaned, gently applied pressure and rolled. Taken the controllers apart and used a can of air ect.. Eventually I would just give up and buy another controller. After my third I started researching ways to fix the problem myself and came across this product. I now have 4 fully functional controllers! These things are super easy to work with, all the tools you need come with and it fixes the problem. Even better I haven't had stick drift on any of the controllers I've fixed. I would highly recommend this product as a guaranteed fix for that problem.
M**H
Too fragile
These things are absolute GARBAGE. I have tried both the Xbox version and the PS5 version. Every single one of these I have atempted to use has either been defective or too easily damaged during installation. Subsequently they act like a direct short and then overheat and almost catch fire. I even contacted the company to verify the recommended solder temperature (HAL effect sensors are very heat sensitive). They verified 300 degrees C. I then immediately soldered one up in a test board at 290C and just like all the rest they tried to catch fire. This has me entirely soured on HAL effect, I am going back to potentiometer based units even if I have to replace them more often.
S**S
Tricky install, but works perfectly!
This joystick swap requires desoldering and soldering on the Dualsense circuit board. I am NOT very good at soldering, but I was able to complete the project and the results are perfect! You may need to re-calibrate the joysticks after install. I did not, they both zero'd within the default dead-zone, but you may need to calibrate. No big deal.If I can offer any tips on the desoldering aspect of this project, they are these:-clip off the through board wire as close as you can to the board.-gently break off the two potentiometers from each joystick so they are separate from the joystick housing.-At about 400C move between the three through wires for each potentiometer until it drops free. Do that x4 (two for each joystick).-That should give you enough space to clip the through wires and housing connectors on the TOP of the board. That should fully release the old joystick.-Switch to your needle point solder gun bit and reheat.-Push through each connection on the circuit board to extricate the clipped off remnant of the through board wire from the old joystick.-Use solder wick to clean top and bottom circuit board and you're ready for install.-Make sure the new joysticks are seated flush to the board before soldering.Be patient and good luck!
A**R
Great value! But possible quality control issues.
I'd say this is a bare minimum upgrade you can do for your controller to get rid of stick drift. While not as robust as other hall-effect kits that come with calibration boards, these will get the job done with proper mechanical calibration by adjusting the magnet position, and fine-tuning through software calibration using dualsense-tools on github. If you set everything right the first time with only these joysticks, then there should be no need to do it again later on.I recommend buying a 4-pack for each controller you plan to modify because there might be some quality control issues with the joysticks themselves. Some might physically be more centered than others. Be sure to examine the alignment of the joystick before installing it. I made the mistake of soldering everything in only to realize one joystick tilted up and the other tilted a bit down. While it still functioned properly, it was a bit of an eye sore. Fortunately, the last two were perfectly even.Since I ended up using all four joysticks during the process, I found circularity to be inconsistent between the first two and the last two I installed. For the first two, circularity was a little over 14% error. The left stick had a bottom corner bias and the right stick had a top corner bias. It is possible that this was because of the tilted resting positions for each stick. Fortunately, the last two joysticks gave me the best circularity at 12% error with almost no corner bias. All four had no problems with being centered at zero.Overall, this was great bundle! The install was a bit of a pain and while I only needed the joysticks, its nice to have the extra thumbstick covers and silicone rings.
Trustpilot
1 month ago
5 days ago